Designing your Own Lace Applique Hat:
Items you will need:
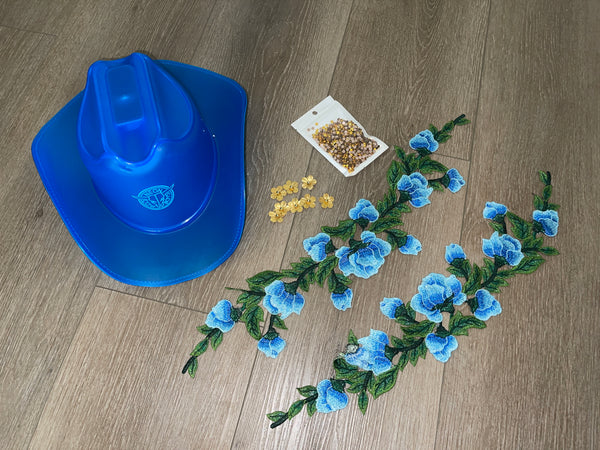
- 1 Original Neon Cowboys Hat
- 2 Lace Appliques
- Decorative flowers
- Rhinestones
- E6000 Adhesive Glue
- E6000 Glue Tips
- Tweezers
- Scissors
- Tray for rhinestones (optional)
Items linked below at the bottom of this article.


How to:
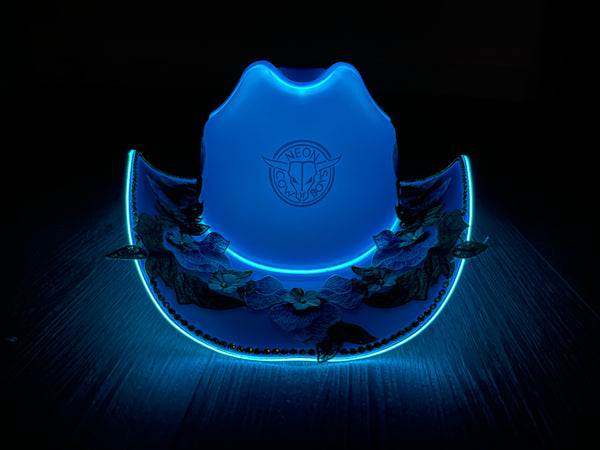
First, decide the placement for your lace applique and decorative flowers. For mine, I am placing the lace applique around the sides of the hat with flowers atop in a circular pattern. However, the lace pieces I am using are a bit long and extend off the front brim of the hat so I decided to trim them down.


Once you’ve determined your placement, it’s time to start gluing! Since our hats are made from the same material as what glue bottles are made of, we highly recommend using E6000 as it creates a tight bond between the hat and whatever materials you are using.
Place a fresh tip on your E6000 glue bottles and apply the glue generously to the back of your applique pieces.


I wasn’t a big fan of the original gold ball used in the decorative flowers I bought, so I snipped them off and placed a rhinestone in the center of each flower.

To make this hat sparkle even more, I decided it would be fun to add additional gold rhinestones. Working in small sections, I applied a thin layer of E6000 slowly around the brim of the hat and used my tweezers to apply the rhinestones.

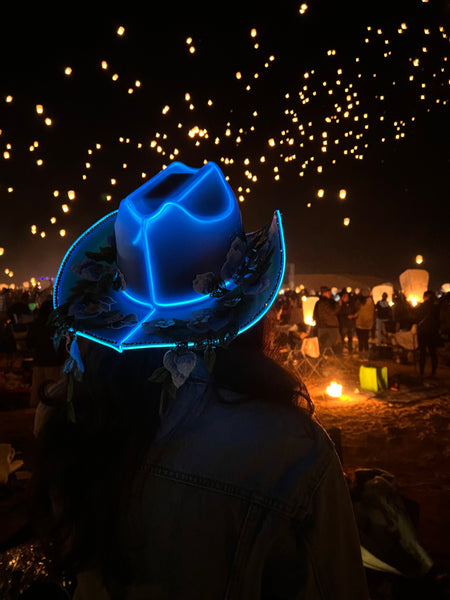
You’re going to want to let the E6000 cure for at LEAST 24 hours before wearing your hat but that’s it! Wear your unique hat out and about letting it sparkle in the day and night.


Love, Mirai
Your Neon Cowboy
Links to purchase items:
- The Neon Cowboys Hat
- White Lace Applique
- Black Lace Applique
- Pink Lace Applique
- E6000 Kit
- Flatback Rhinestone Kit
Watch our Instagram Reel here:


